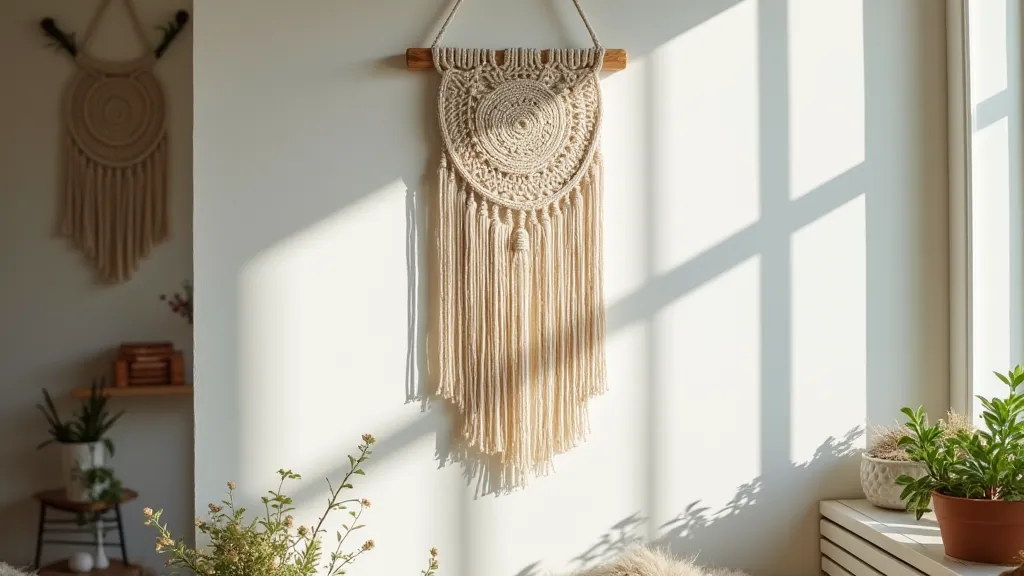
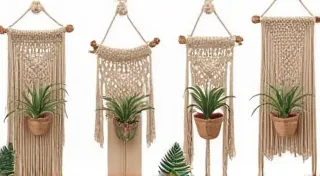
Macrame Pattern: Simple Wall Hanging for Beginners
Add a touch of bohemian style to your space with this easy-to-follow macrame wall hanging pattern. Perfect for beginners! This project introduces foundational knots and builds confidence for more complex macrame projects down the line. Macrame is enjoying a huge resurgence in popularity, and for good reason – it’s a relaxing and rewarding craft.
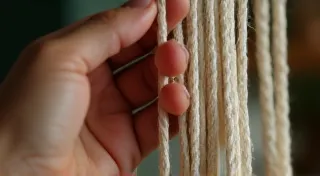
What You'll Need
- Macrame Cord (3mm or 5mm) - Approximately 30-40 feet (depending on desired length)
- Scissors
- Measuring Tape
- Mounting Dowel or Branch (approximately 12-18 inches)
- Optional: Beads, feathers, or other embellishments for added flair.
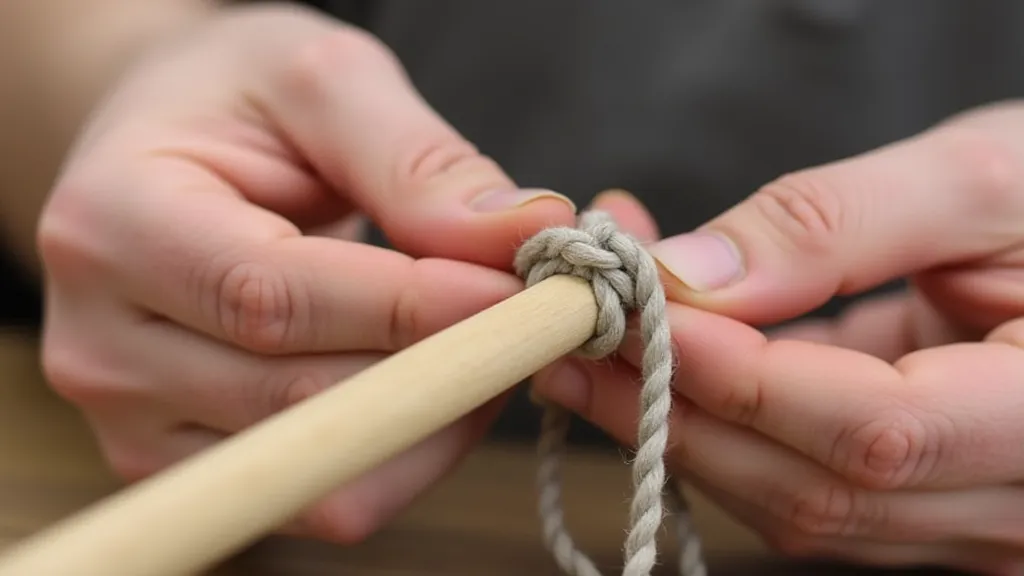
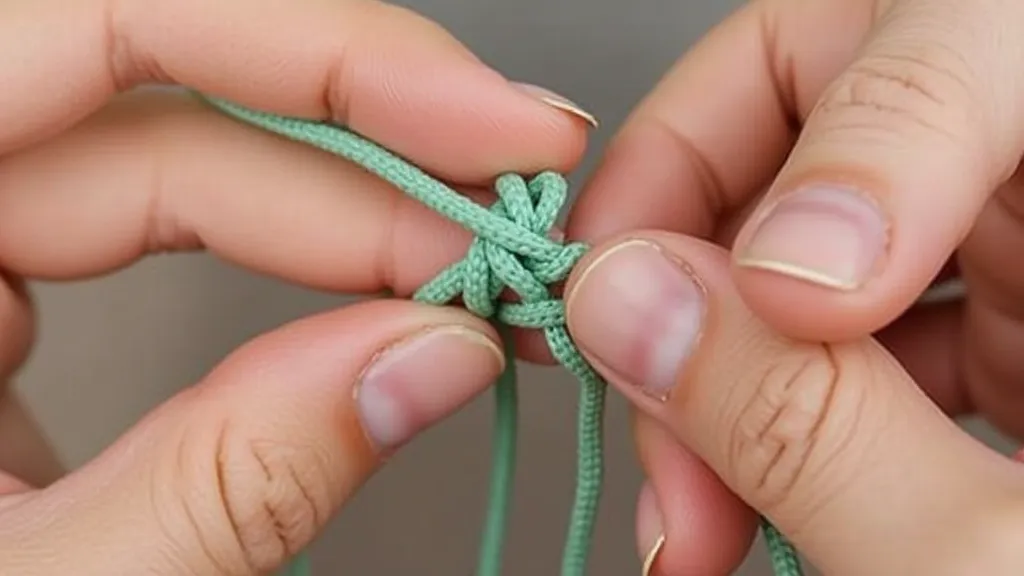
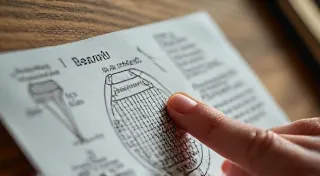
Understanding the Knots
This pattern primarily uses two essential macrame knots: the Lark's Head Knot and the Square Knot. Let's review them briefly. Understanding these knots is fundamental, and once you’re comfortable with them, you're well on your way to creating a wide variety of macrame designs.
The Lark's Head Knot
The Lark's Head Knot is used to attach the cords to the dowel. It’s a simple knot that creates a looped appearance. This is your first step in bringing your wall hanging to life!

The Square Knot
The Square Knot is the workhorse of macrame! It’s created by alternating two Half Square Knots and is the basis for many macrame patterns. If you're a complete beginner, mastering the Square Knot will open up a whole world of possibilities. You'll be using it repeatedly throughout this project. To deepen your understanding of this crucial knot, consider exploring "the essential guide to the Square Knot."

Step-by-Step Instructions
- Prepare Your Cords: Cut your macrame cord into four equal lengths. For a wall hanging approximately 18 inches long, each cord should be about 6-7 feet long. Adjust cord length as needed for your desired length. Experiment with different cord thicknesses to see how it affects the finished look – thicker cords create a bolder, more rustic appearance.
- Attach the Cords: Using the Lark's Head Knot, attach all four cords to your mounting dowel. Position the Lark's Head Knots evenly spaced across the dowel. Ensure your Lark's Head Knots are snug but not overly tight, as this will impact the overall tension of your project.
- Begin the Square Knot Sequence: Starting just below the Lark's Head Knots, tie a series of Square Knots. Continue tying Square Knots for approximately 4-6 inches. The number of knots will determine the length of your hanging. This is where the real magic happens! Each row of Square Knots adds texture and visual interest.
- Create a Tapered Effect (Optional): For a more visually appealing design, you can gradually reduce the number of Square Knots tied per row. This creates a gentle taper towards the bottom of the wall hanging. This subtle change in knot density adds a dynamic element to the design. It’s a great way to showcase your growing skill.
- Finish the Bottom Edge: After completing your desired number of rows of Square Knots, you can leave the ends hanging freely or tie them together in a simple gathering knot. Trim any excess cord. Consider adding beads or feathers to the hanging ends for extra decoration.
Tips for Beginners
- Keep Tension Consistent: Maintaining consistent tension while tying knots is crucial for a neat and even result. Inconsistent tension is a common challenge for beginners, so be patient with yourself and focus on maintaining a steady pull.
- Practice Makes Perfect: Don't be discouraged if your first attempts aren't perfect. Macrame takes practice! Each knot you tie brings you closer to mastery.
- Watch Video Tutorials: Many helpful video tutorials are available online that visually demonstrate the knots and techniques. Visual learners often find video tutorials invaluable in understanding complex knotting sequences.
- Use Quality Cord: Using good quality macrame cord will make the knotting process easier and result in a more durable finished product. Cheap cord can be brittle and difficult to work with.
- Start Small: Don't jump straight into a large, complex project. Begin with a smaller, simpler design, like a simple macrame keychain, to build confidence and develop your skills.
- Explore Different Patterns: Once you’re comfortable with the basic knots, experiment with different patterns and designs. There are endless possibilities in the world of macrame!
Beyond the Basics: Understanding the Philosophy of Macrame
Macrame isn’t just about tying knots; it’s about connecting with the material and expressing your creativity. It’s a tactile art form that allows you to slow down, focus, and appreciate the beauty of simple gestures. Some find that the repetitive nature of knotting is meditative, allowing them to clear their minds and find a sense of calm. Many practitioners view macrame as a form of dialogue with the cord itself, responding to its texture and flexibility to create something beautiful. The Silent Conversation: Macrame as a Dialogue with the Material delves deeper into this aspect of the craft.
Want to learn even more advanced techniques? Consider exploring Mastering the Half Hitch Knot to expand your macrame skillset and add greater complexity to your designs.
Displaying Your Wall Hanging
Your finished macrame wall hanging can be displayed in a variety of ways. Hang it in your living room, bedroom, or entryway to add a touch of bohemian charm to any space. Consider the lighting in the room when choosing a location – macrame looks particularly stunning when illuminated by natural light. The warmth and texture of macrame add a unique element to any décor. Experiment with different hanging heights to see what looks best in your space.

Enjoy creating your own beautiful macrame wall hanging! This simple pattern is a wonderful introduction to the world of macrame knotting techniques. With a little practice, you'll be creating your own stunning macrame projects in no time. And remember, the most important thing is to have fun and enjoy the process!