The Essential Guide to the Square Knot: Macrame's Foundation
Welcome to the wonderful world of macrame! If you're a complete beginner, you’re starting in the best possible place. The very first knot you need to learn is the square knot. It's the building block for countless macrame projects, from plant hangers and wall hangings to bracelets and keychains. Don’t be intimidated; it’s easier than you think! This tutorial breaks down the steps with clear instructions and helpful visuals, ensuring you master this essential knot quickly and confidently. Before you dive in, it’s worth considering the materials you'll be using, particularly the thickness of your cord – understanding understanding cord thickness can make a significant difference in the final look and feel of your project. Macrame isn't just about knots; it’s about crafting narratives and expressing yourself—and sometimes, even exploring themes of absence and creative resilience.
What is the Square Knot?
The square knot, sometimes called the reef knot, is formed by intertwining four strands of cord. When tied correctly, it creates a balanced, symmetrical knot that’s both strong and visually appealing. It’s not a true knot in the sense that it's meant to hold under tension (a sheet bend is better for that!), but it's fantastic for decorative purposes and creating structure in macrame designs. The beauty of macrame lies in its ability to transform simple materials into complex and expressive art forms, and the square knot is where that journey begins. Consider how even a seemingly simple knot can be part of a larger narrative blueprint – a visual language speaking volumes.
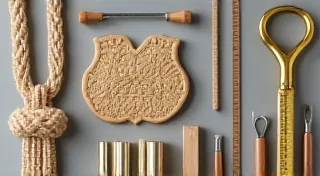
Materials You'll Need
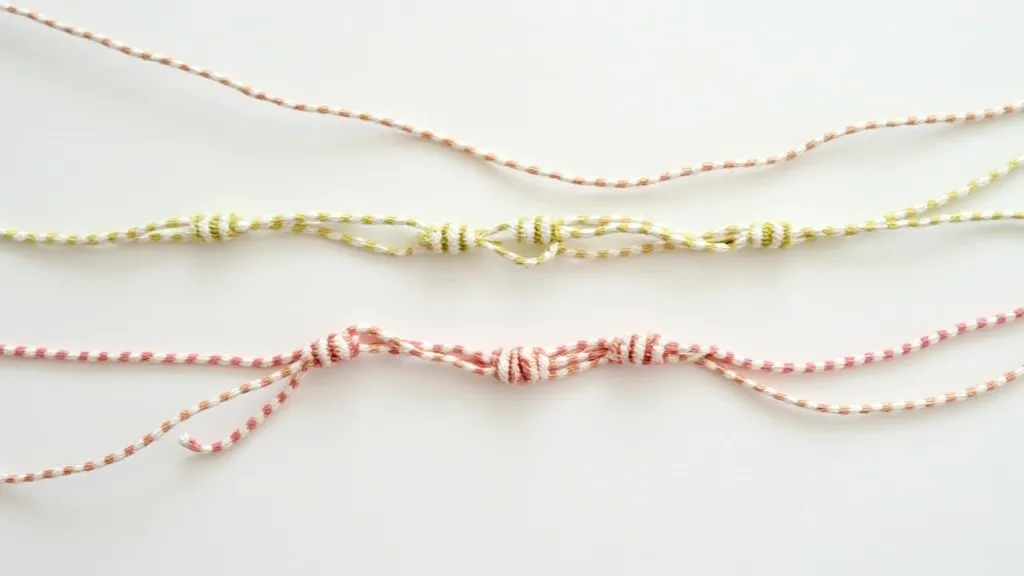
- Cord: Any type of cord will work for learning the square knot – cotton cord, jute twine, nylon cord, or even shoelaces! About 4-6 feet of cord is a good starting point.
- Scissors
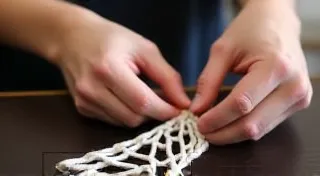
Step-by-Step Instructions: Tying the Square Knot
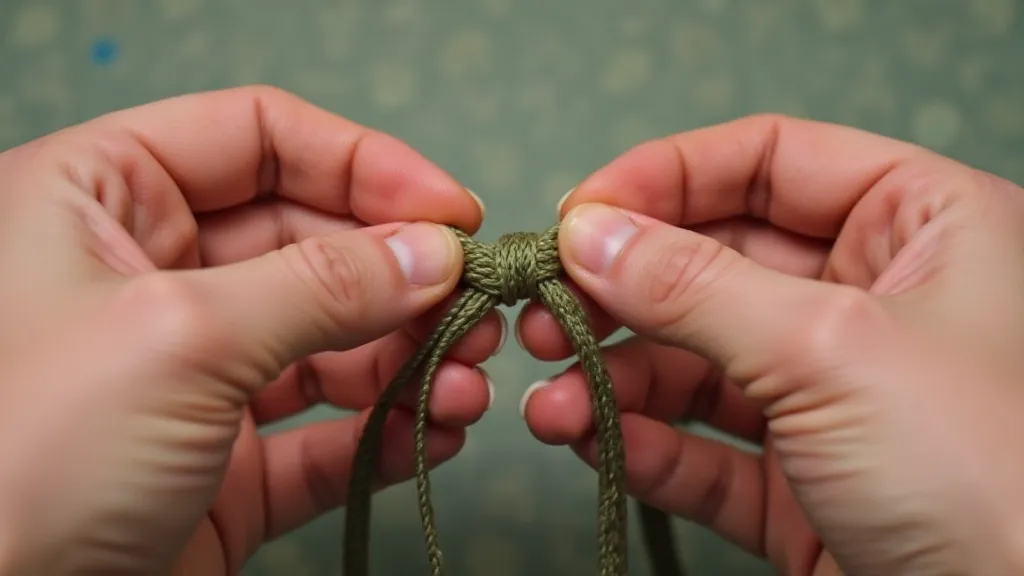
Let's dive into the process. We’ll call the two strands of cord you’re working with "Strand A" and "Strand B" to make things easier. Always remember, a square knot is actually TWO half knots tied in opposite directions. It's crucial to understand the principles behind each step, and it’s a skill that improves with repetition and practice. Think of each knot not just as a technical step, but as a brushstroke in a larger artistic canvas.
- Positioning: Lay Strand A over Strand B, creating an "X" shape.
- First Half Knot (Right Over Left): Bring Strand A up and *over* Strand B, and then pass it *under* Strand B. Pull tight. This is your first half knot.
- Second Half Knot (Left Over Right): Now, bring Strand B over Strand A (in the opposite direction of the first half knot), and pass it under Strand A. Pull tight. This completes the square knot.
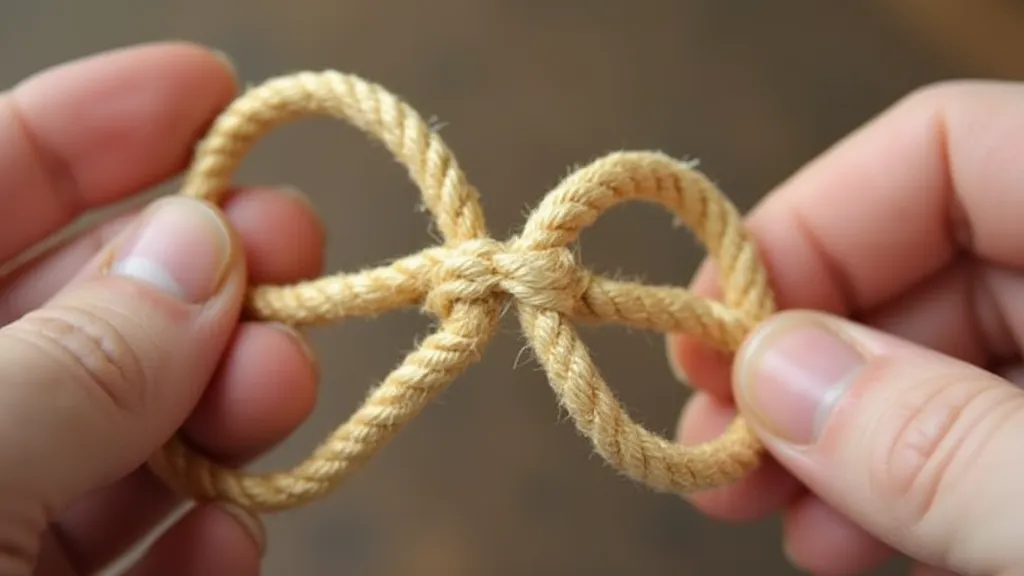
- Check Your Work: A properly tied square knot will lay flat and symmetrical. If it twists or looks lopsided, you’re likely reversing the direction of the half knots. Try again, focusing on right over left and then left over right. It's often helpful to visualize each half-knot individually before combining them. Perhaps the unevenness highlights a subtle tension, a hidden story waiting to be uncovered – a glimpse into creating a narrative blueprint.
Tips for Beginners
Mastering any craft takes time and dedication. Here are some extra tips to help you along your macrame journey. Think of each mistake not as a failure, but as a valuable lesson on the path to creating something truly expressive.
- Practice Makes Perfect: The square knot can feel awkward at first, but keep practicing! The more you tie it, the more natural it will become. Consider dedicating a few minutes each day to simply tying square knots – you'll be surprised at how quickly you improve. Each repetition builds not just skill, but a connection to the craft itself.
- Tension is Key: Maintaining consistent tension as you pull each half knot is important for creating a neat and even knot. Too loose, and the knot will appear sloppy; too tight, and it will be difficult to work with. Consistent tension is like a steady hand guiding the artist's vision.
- Watch Video Tutorials: Sometimes, seeing the knot tied in action can be more helpful than just reading instructions. There are many excellent macrame tutorial videos online. Visual learners often find that video demonstrations offer a much clearer understanding of the process. Consider exploring videos that delve into the geometry of absence— a fascinating approach to transforming tension and space into captivating art.
- Don’t Be Afraid to Undo: If you make a mistake, just gently pull the knot apart and try again. It’s part of the learning process, and there's no shame in starting over. The beauty of macrame is that it’s forgiving; mistakes can often be corrected or incorporated into the design.
- Embrace Experimentation: Once you're comfortable with the basics, don’t be afraid to experiment with different cord types, colors, and combinations. This is where your personal style will truly shine. You might even consider using the square knot as a foundation for creating something entirely new – perhaps exploring your own resilience through the process.
Beyond the Basics: What Can You Make with Square Knots?
Once you’re comfortable tying the square knot, the possibilities are endless! Here are just a few ideas to get your creativity flowing. The square knot is more than just a technique; it's a gateway to a world of artistic expression. It’s the building block for so many beautiful creations, and it’s often the starting point for developing more complex designs. Consider how the simple repetition of a knot can build towards something grand and meaningful.
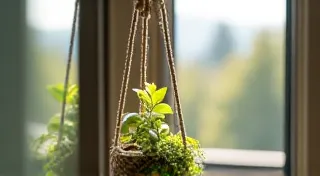
- Plant Hangers: A classic macrame project that relies heavily on the square knot. This is a fantastic project for beginners, as it combines the square knot with a few simple variations.
- Wall Hangings: Combine square knots with other knots to create beautiful and unique wall art. From intricate geometric patterns to flowing, organic designs, the possibilities are truly limitless.
- Bracelets & Keychains: Create stylish accessories. These small projects are great for practicing your knot-tying skills and creating personalized gifts.
- Coasters: Functional and decorative additions to your home. Coasters offer a practical application for your macrame skills, and they’re a great way to add a touch of handmade charm to your living space.
- Dream Catchers: Incorporate the square knot into a traditional dream catcher design, adding your own unique flair.
- Curtains: With enough cord and patience, you can create stunning macrame curtains using primarily the square knot.
- Rugs: Larger macrame projects like rugs can also utilize the square knot as a foundational element.
- Tapestries: Expand your creative horizons and explore the depths of artistic expression by crafting intricate tapestries that tell stories and evoke emotions.
The square knot is just the beginning of your macrame adventure. As you gain experience, you’re encouraged to experiment, innovate, and develop your unique style. The process is more than just tying knots; it’s about connecting with your creativity and expressing yourself through art. It's about finding beauty in the repetition, and using it to build something larger than yourself—a powerful narrative blueprint.
Happy knotting! With the square knot mastered, you’re well on your way to creating stunning macrame projects. Don’t be afraid to experiment and let your creativity flow!