Mastering the Half Hitch Knot: A Beginner's Journey
The half hitch knot is a cornerstone of macrame, appearing in countless patterns and projects. While it may seem simple, mastering the half hitch is crucial for achieving consistent and beautiful results. This tutorial is specifically designed for beginners, providing a step-by-step breakdown of how to tie the half hitch knot correctly and explore its various applications in macrame.
Understanding the Half Hitch Knot
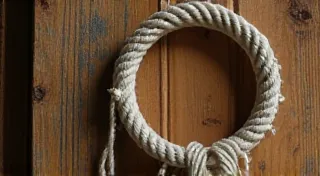
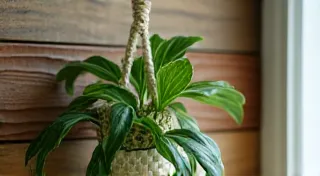
The half hitch, sometimes called a simple hitch, is a foundational knot. It essentially wraps one cord around another, creating a loop that tightens as you pull. It's commonly used to create lines, add texture, and form decorative elements in macrame projects. Before diving into the specifics of the half hitch, it’s helpful to understand the broader landscape of macrame knots. If you're feeling overwhelmed by the possibilities, checking out 5 essential macrame knots every beginner should master might be a great starting point.
Step-by-Step Tutorial: Tying the Half Hitch Knot
Let's break down the process into manageable steps. We’re assuming you have two cords—a “working cord” and a “holding cord” – or a rope as the holding cord. It's important to have a solid grasp of the basic tools and techniques before you start any macrame project, no matter how small.
- Start with Your Cords: Lay your working cord over your holding cord. Think of the holding cord as stationary for now.
- Wrap the Working Cord: Bring the working cord *over* the holding cord, creating a loop.
- Pass the End Through: Bring the working cord’s end *under* and then *through* the loop you just created.
- Tighten the Knot: Gently pull the working cord’s end to tighten the knot. Ensure the knot sits snugly against the holding cord. Don’t pull too hard, as this can distort the overall look of your project.
Tips for Beginners
- Consistent Tension: The key to a professional-looking macrame project is consistent tension. Practice pulling the working cord to achieve the same tightness each time you tie a half hitch.
- Direction Matters: Pay attention to which direction you wrap the working cord. A consistently wrapped direction ensures that your project has a uniform look. You can wrap the cord to the right or left - whichever feels most comfortable for you.
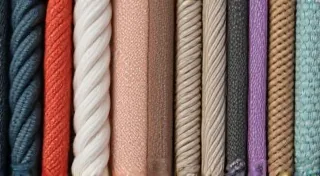
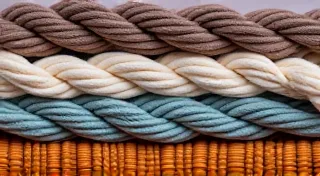
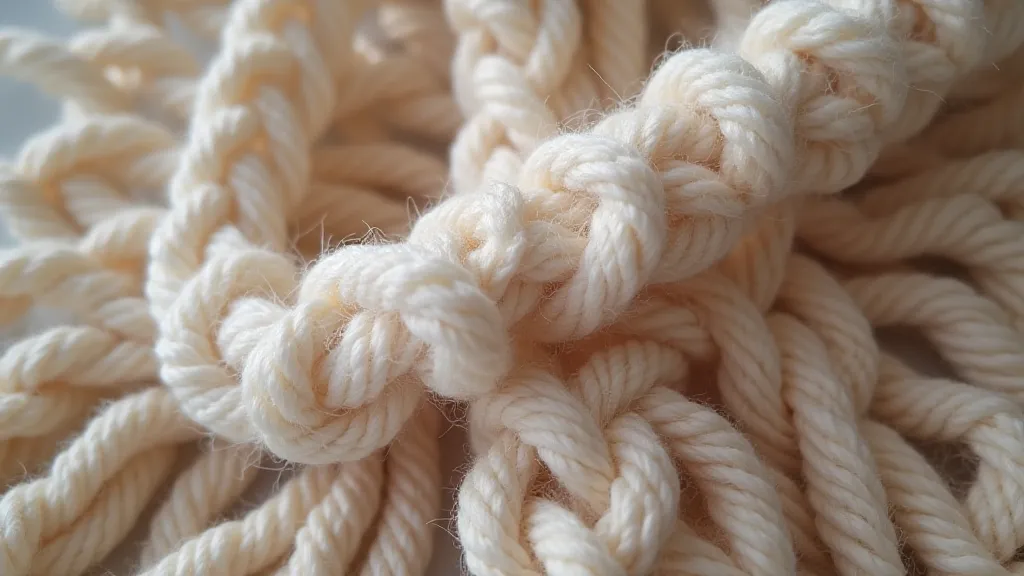
- Experiment with Different Cords: The feel and appearance of the half hitch knot can change depending on the type of cord you use. Try different materials, like cotton rope, jute twine, or nylon cord.
- Practice Makes Perfect: Like any skill, macrame requires practice. Don't get discouraged if your first few attempts aren't perfect. Consider starting with a simple project, such as creating a simple macrame keychain, to build your skills and confidence.
Applications of the Half Hitch Knot
The half hitch knot is incredibly versatile. Here are a few ways it’s used in macrame projects:
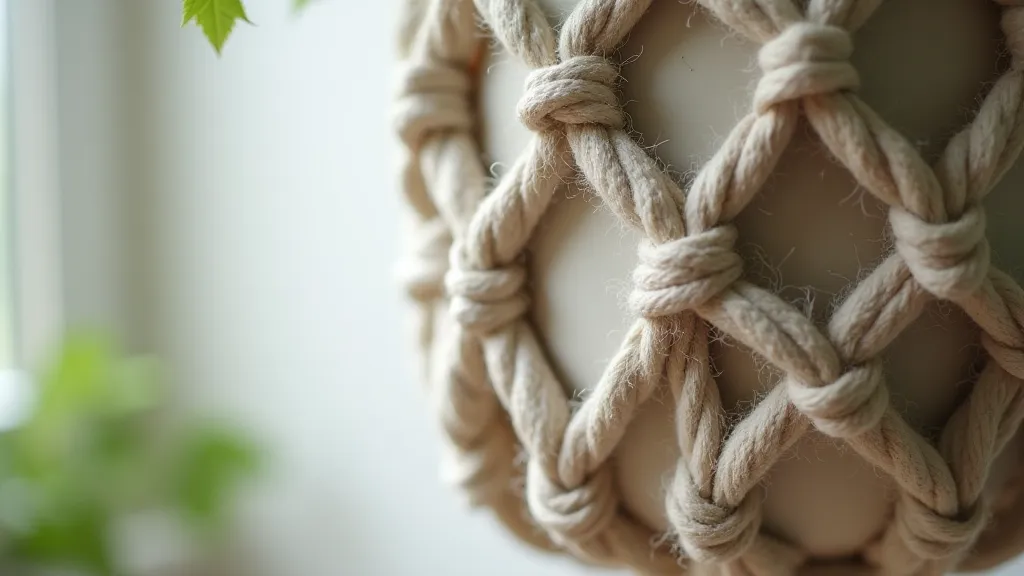
- Creating Lines: Repeated half hitches can form strong, decorative lines used for borders, patterns, or structural elements.
- Adding Texture: Alternating the direction of your half hitches can create interesting textures.
- Base Knots: The half hitch is a crucial component in several more complex macrame knots. It’s frequently paired with knots like the square knot to create intricate patterns.
- Decorative Accents: It can be used to create small, detailed accents on larger projects.
Beyond the Basics: Combining the Half Hitch with Other Techniques
Once you're comfortable with the fundamental half hitch, the real fun begins – exploring how it interacts with other macrame techniques. You can use it to create edging or borders, which really elevates a project. Thinking about finishing your work with a professional touch? Consider using a gathering knot to secure all your cords at the end. It's a stylish and functional way to complete your creation.
Common Mistakes and How to Avoid Them
- Loose Knots: Make sure to pull the working cord tight enough to secure the knot.
- Uneven Tension: Pay close attention to the tension you’re applying when tightening each knot. A slight variation in tension can become quite noticeable across an entire project.
- Twisting the Cords: Try to avoid twisting the cords as you tie the knot, as this can create an unsightly appearance.
- Inconsistent Wrapping Direction: Randomly changing the direction you wrap the cord can lead to a messy and unprofessional look. Commit to a direction and stick with it for uniformity.
Moving Forward: Combining the Half Hitch
The half hitch isn't just a knot on its own; it's a building block for more complex designs. Think of it as the paintbrush in your macrame toolbox! Mastering it unlocks a world of possibilities. Understanding how it interacts with other knots is key to expanding your repertoire.
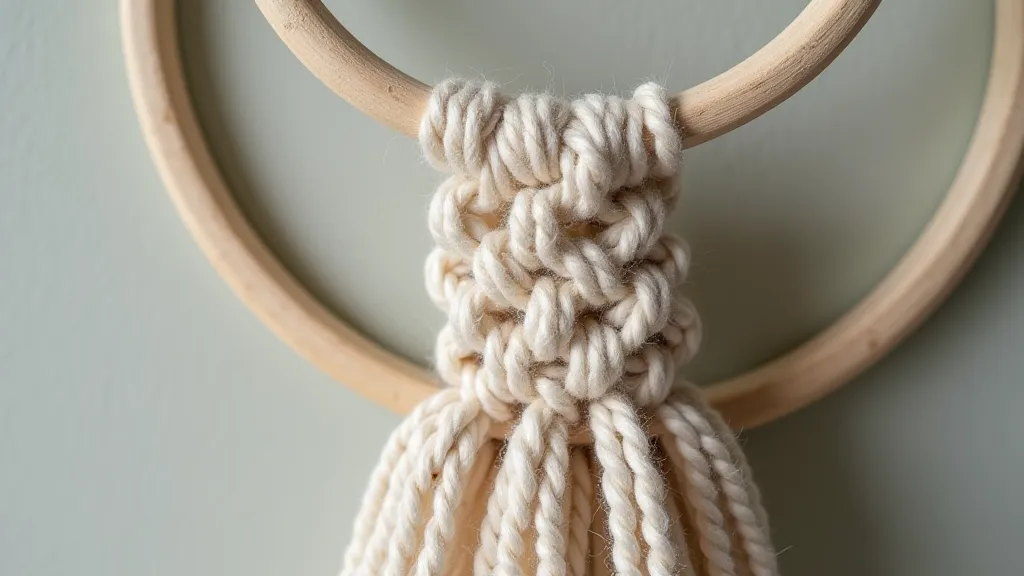
Your First Project: A Simple Tassle
A fantastic beginner project to practice the half hitch is to create a simple tassle. Start with a bundle of cords and use half hitches to create the tassle's head. It’s a simple project, but it will allow you to refine your knot-tying skills and build muscle memory. And don’t worry if your first attempt isn't perfect – practice makes perfect!
Expanding Your Macrame Horizons
The beauty of macrame lies in its adaptability. Once you're comfortable with the basics, you can experiment with different materials, colors, and techniques to create truly unique pieces. Don’t be afraid to break the rules and develop your own style! You can even use your newfound skills to create beautiful and functional home décor items, such as beginner-friendly coasters. The possibilities are endless!