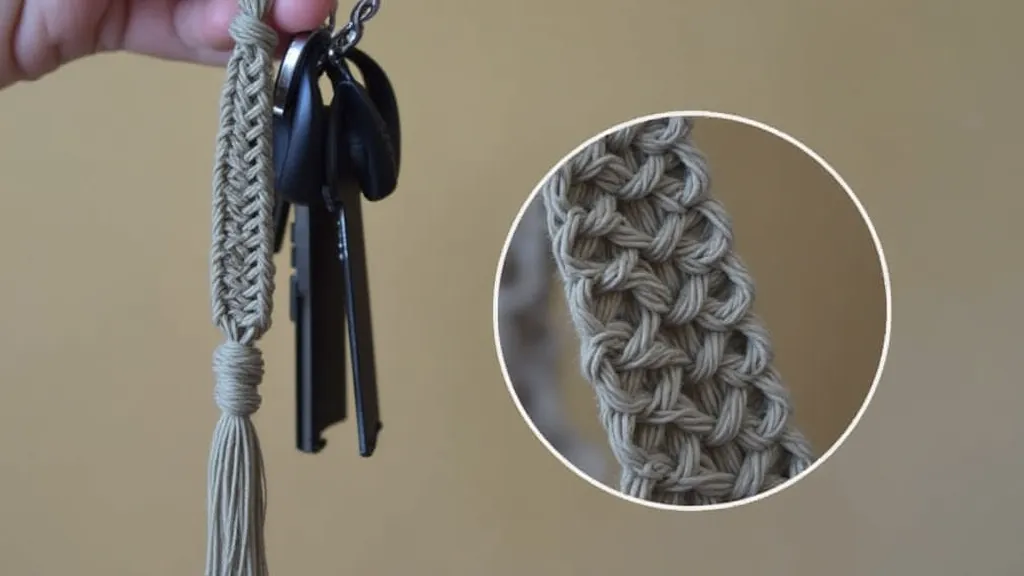
Creating a Simple Macrame Keychain: A Quick & Easy Project
Looking for a fast macrame project? This tutorial walks you through creating a cute and personalized macrame keychain, perfect for gifting or personal use.
Introduction to Macrame Keychains
Macrame can seem daunting at first, but creating a simple keychain is a fantastic introduction to this beautiful craft. It’s a quick project that requires minimal materials and uses only a few basic knots. This tutorial is specifically designed for absolute beginners with no prior macrame experience. Understanding the underlying principles of knotting can also be incredibly beneficial; if you're eager to delve deeper, you might find it helpful to explore how to read and understand macrame pattern diagrams for more complex designs later on.
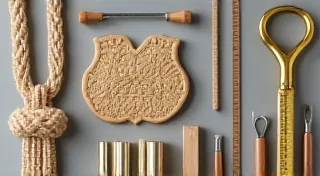
Materials You’ll Need
- Macrame Cord: Approximately 30-40 inches of 3mm or 5mm cord (cotton or jute work well). You can adjust the length depending on how long you want your keychain to be.
- Keychain Ring: One keychain ring.
- Scissors
- Measuring Tape (optional, but helpful)
Step-by-Step Instructions: The Square Knot Keychain
This keychain uses the square knot, the most fundamental knot in macrame. Let’s get started!
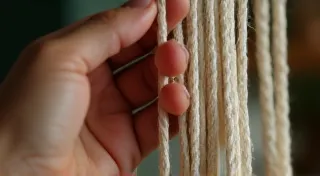
Step 1: Preparing Your Cords
Cut your macrame cord into one long strand. The length will depend on the desired size of your keychain. A general rule of thumb is to cut at least 30 inches for a standard-sized keychain. It's better to have extra cord you can trim later than to run short. The best results come from using a cord that has a pleasing weight and drape. The alchemy of cord – how the tension and material interact – can significantly impact the final texture and look of your macrame.
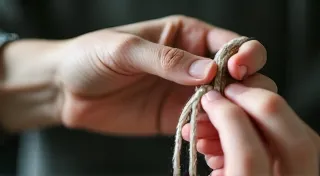
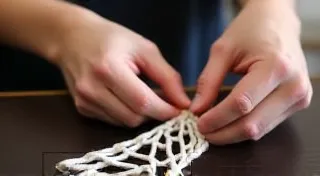
Step 2: The First Larks Head Knot
Fold your cord in half. Place the folded end over the keychain ring, forming a loop. Bring the loose ends through the loop and pull tight. This is called a Larks Head knot, and it secures the cord to the ring. Repeat this process, using a second cord. You should now have two cords hanging from the keychain ring.
Step 3: The First Square Knot
Now we'll create our first square knot. Number your cords from left to right: 1, 2, 1, 2. Take cord 1, and pass it over cords 2 and 1, then under cord 2. Then, take cord 2 and pass it under cords 1 and 2, then over cord 1. Pull the cords tight. This is one half of a square knot.
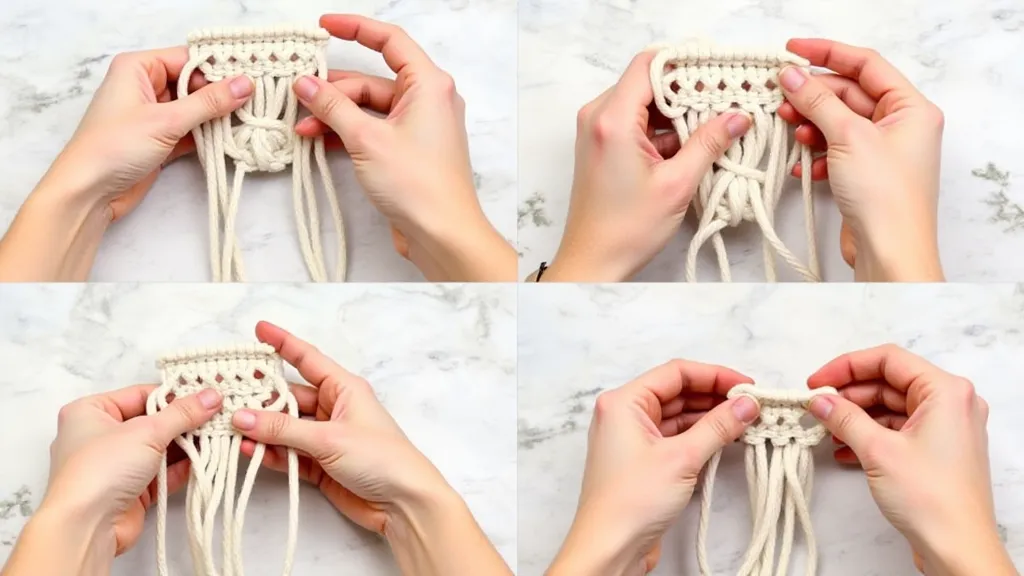
Step 4: Completing the Square Knot
Repeat Step 2. Take cord 2, and pass it *over* cords 2 and 1, then *under* cord 1. Then, take cord 1 and pass it *under* cords 2 and 2, then *over* cord 2. Pull the cords tight. Now you have completed one full square knot.
Step 5: Creating Multiple Square Knots
Continue making square knots, tightening each one firmly. The number of square knots you make will determine the length of your keychain. Aim for around 4-6 knots to create a standard length. If you find yourself struggling with consistent tension or knot formation, remember that practice makes perfect. Don't be discouraged by initial imperfections; even experienced macrame artists encounter challenges. It’s also worth investigating common macrame mistakes to preemptively address potential snags in your project.
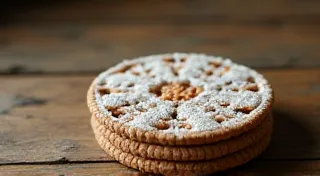
Step 6: Finishing Off
Once you’re happy with the length, tie a final overhand knot at the ends of the cords to prevent unraveling. Trim the excess cord, leaving a small tassel if desired. Experimenting with different tassel lengths and styles can add a personalized touch to your keychain. Remember, macrame is a craft that encourages creativity and exploration. You can even incorporate beads or other embellishments to further customize your creations.
Tips & Troubleshooting
- Tightening Knots: Consistent tension is key to a neat-looking macrame project. Mastering this skill often involves subtle adjustments to your hand placement and cord grip.
- Cord Choice: Experiment with different cord types and thicknesses to achieve different looks. Consider the properties of different materials – cotton tends to be softer and more pliable, while jute offers a more rustic feel.
- Practice Makes Perfect: Don't be discouraged if your first attempt isn’t perfect. Macrame is a skill that improves with practice. Each project you complete will teach you something new, from better cord management to improved knotting techniques.
- Understanding Knot Variations: While the square knot is fundamental, there's a whole world of other macrame knots to explore. The half hitch knot, for instance, is a versatile option used in numerous patterns.
- Troubleshooting Loose Knots: If your knots consistently feel loose, double-check your technique. Ensure you’re pulling the cords tightly and evenly after each pass. Sometimes, the problem lies in the cord itself – a low-quality cord might not hold knots securely.
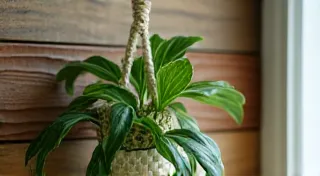
Beyond the Keychain: Expanding Your Macrame Skills
Creating a simple keychain is just the beginning of your macrame journey. Once you're comfortable with the basics, you can tackle more ambitious projects, such as wall hangings, plant hangers, and even intricate clothing items. The possibilities are truly endless.
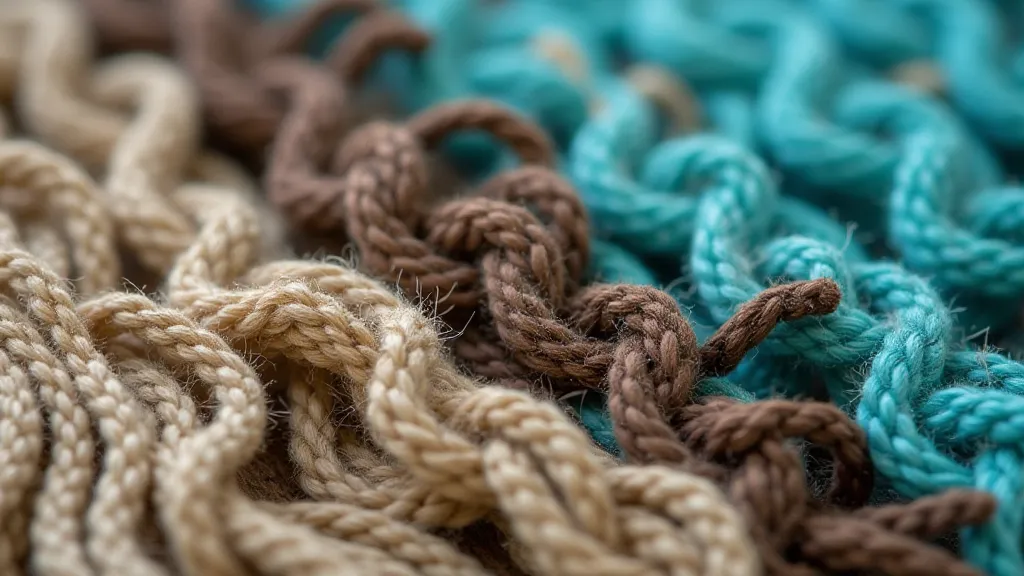
Materials Deep Dive: Choosing the Right Cord
The type of cord you use significantly impacts the final look and feel of your macrame project. Here's a closer look at some popular options:
- Cotton Cord: A versatile choice that's easy to work with and produces soft, flowing designs.
- Jute Cord: Offers a rustic and natural aesthetic. It’s stronger than cotton but can be more challenging to work with.
- Hemp Cord: A sustainable and eco-friendly option with a distinctive texture.
- Nylon Cord: Offers exceptional strength and durability, making it suitable for projects that require a high level of tension.
The History of Macrame: A Global Craft
Macrame has a rich and fascinating history, with roots in ancient civilizations. It's believed to have originated in the 13th century in the Arab world, where it was used to create decorative items for mosques and palaces. From there, it spread to Europe and beyond, evolving into the craft we know and love today. During the Victorian era, macrame experienced a surge in popularity, with intricate pieces adorning homes and wardrobes.
Conclusion
Congratulations! You're well on your way to becoming a macrame enthusiast. This simple keychain project is a wonderful starting point. Now you can apply your newfound knowledge to create more complex macrame projects! Embrace the process, experiment with different techniques, and most importantly, have fun!