Creating a Simple Macrame Plant Hanger: A Beginner Project
Put your new knotting skills to the test! This step-by-step tutorial guides you through creating a charming macrame plant hanger, perfect for beginners.
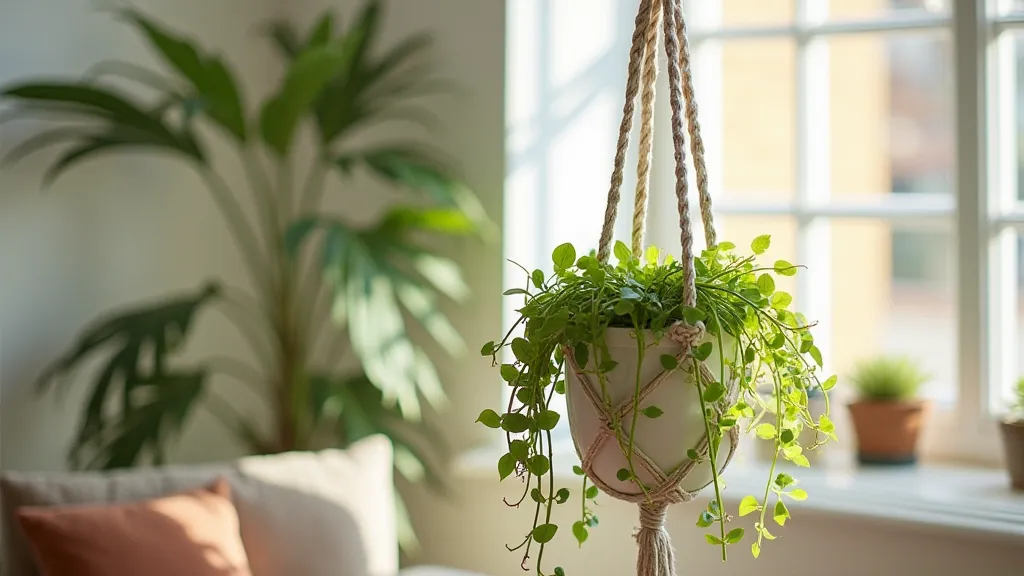
Introduction to Macrame Plant Hangers
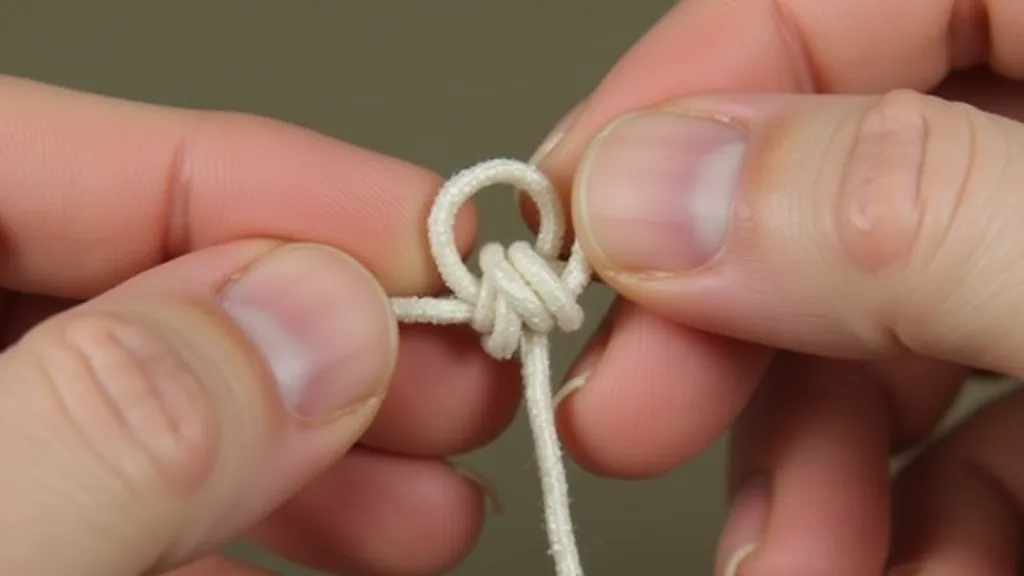
Macrame plant hangers are a beautiful and functional way to display your favorite plants. They add a touch of bohemian flair to any space and are surprisingly easy to make, even if you're just starting out with macrame. This project focuses on using basic knotting techniques, providing a satisfying and achievable goal for beginners. Learning the fundamentals of macrame opens the door to a vast world of creative possibilities, from wall hangings to intricate table runners. If you're new to the craft, understanding the foundational knots is essential; many people begin with the essential guide to the square knot, as it's the backbone of so many designs.
Materials You'll Need
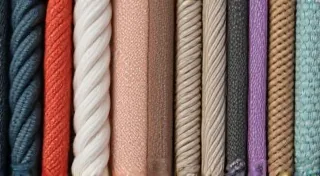
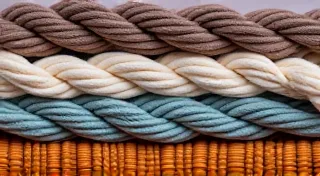
- Approximately 40-50 feet of macrame cord (3mm or 5mm thickness works well. Cotton cord is a popular choice.)
- A pot with a plant (the size will dictate the length of your cords)
- Scissors
- Measuring tape (optional, but helpful)
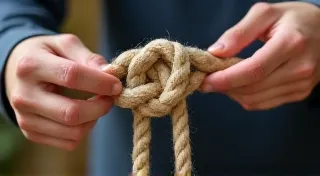
Understanding the Knots: A Quick Refresher
This project primarily uses the Square Knot. Make sure you're familiar with the steps. If not, refer to the “essential guide to the square knot” section on your website for a detailed explanation. Practicing the square knot a few times beforehand will make the plant hanger construction much smoother. Understanding the nuances of knotting, from tension to spacing, contributes significantly to a polished final product. For those eager to explore beyond the basics, there's a whole universe of macrame projects to discover, transforming simple cords into stunning decorative pieces.
Getting Started: Foundational Techniques
Before diving into this specific project, it's beneficial to review the very beginning of macrame. Many designs, even seemingly simple ones, rely on mastering the initial setup. For instance, the lark’s head knot is frequently used to attach cords to a ring or dowel, laying the groundwork for complex patterns. While this plant hanger utilizes the square knot as its primary element, appreciating how designs begin will enhance your overall understanding and allow for future experimentation.
Step-by-Step Instructions
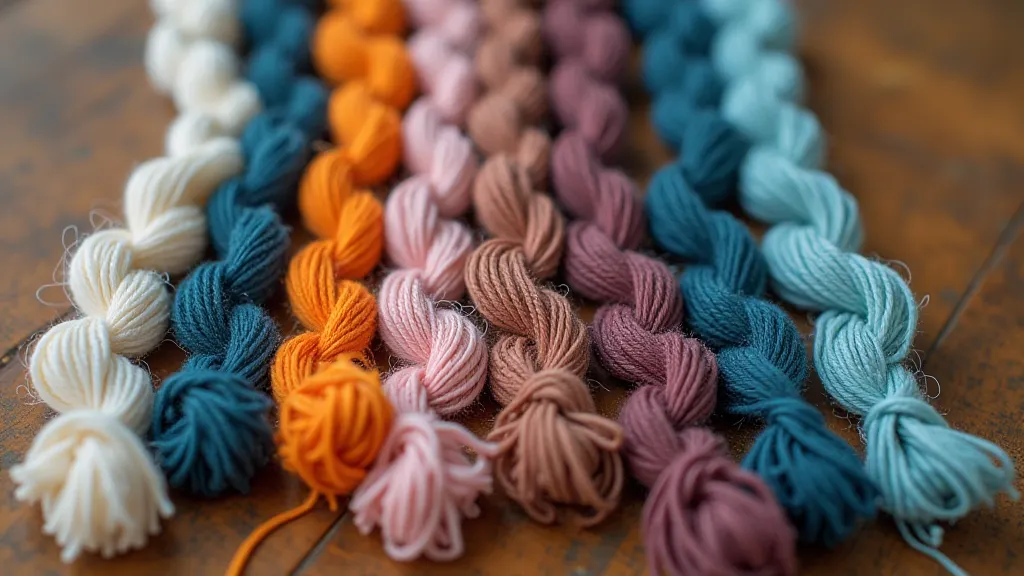
- Cut the Cord: Cut four lengths of cord, each approximately 10-12 feet long. The exact length will depend on the size of the pot you'll be hanging. It's always better to err on the side of having too much cord, as you can trim it later. Consider experimenting with different cord thicknesses and materials – jute, hemp, and synthetic cords all offer unique textures and aesthetics.
- Gather and Fold: Gather all four cords together and fold them in half. This creates a loop at the top. The way you gather and fold the cords initially significantly impacts the overall look of your project. A neat and organized start contributes to a cleaner final product.
- Create the Loop: This loop will be the hanger itself. Decide how low you want the hanger to hang, and adjust the loop accordingly. Secure the loop with a temporary knot, if needed. Think about the visual weight of the loop – a larger loop will create a more dramatic hanging point, while a smaller loop will result in a more delicate appearance.
- First Layer of Knots: Below the loop, begin tying square knots. Tie three square knots, spacing them evenly apart. These knots will form the first layer of the hanger, cradling the top of the pot. Consistent spacing is key for an even distribution of weight and a visually pleasing design.
- Second Layer of Knots: Continue tying square knots, but this time, stagger the knots slightly. This creates a more visually interesting design and helps distribute the weight of the pot. This staggering technique adds depth and dimension to the hanger, moving beyond a purely functional piece to a decorative accent.
- Forming the Basket: Continue tying square knots, gradually forming a basket shape to hold the pot. Adjust the spacing between the knots as needed. Regularly check the fit around your pot as you go. As you form the basket, visualize the finished product. Does the shape provide adequate support for the pot? Does the design offer visual appeal?
- Final Knot and Trim: Once the "basket" is large enough to comfortably hold the pot, gather all four cords together below the basket. Secure them with a large knot. This will be the final knot that hangs below the pot. Trim the excess cord below the knot, leaving a few inches for tassels, if desired. The final trim is crucial for achieving a polished look. Tassels add a playful and bohemian touch, while a clean, straight trim offers a more modern aesthetic.
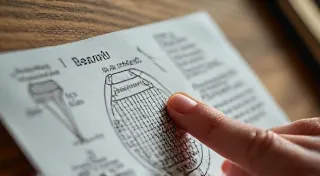
Advanced Techniques & Pattern Reading
Once you're comfortable with the basics, the possibilities expand significantly. Understanding how to read and understand macrame pattern diagrams is the next logical step. This unlocks access to a wider range of designs and allows you to replicate intricate creations. Many online communities share patterns and tutorials, fostering a vibrant and supportive learning environment. Don’t be afraid to experiment and put your own spin on established designs.
Tips and Troubleshooting
- Cord Tension: Maintaining consistent tension on the cords is key to a neat and even plant hanger. Inconsistent tension can lead to a distorted shape and a less professional look. Take your time and focus on maintaining an even pull on each cord.
- Pot Size: Always measure the diameter of your pot before starting to ensure the hanger is the right size. A hanger that's too small will restrict the pot, while a hanger that's too large will offer inadequate support.
- Experiment with Patterns: Once you’re comfortable with the basic square knot, try experimenting with different patterns and knot combinations. This is where your creativity can truly shine!
- Practice Makes Perfect: Don’t be discouraged if your first attempt isn't perfect. Macrame takes practice! Every project offers a learning opportunity.
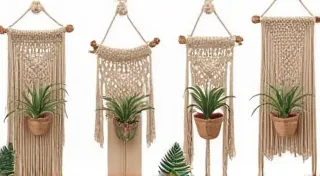
Material Considerations and Alternatives
While cotton cord is a popular choice for its softness and workability, don't hesitate to explore other materials. Jute offers a rustic charm, while hemp provides a more natural and durable feel. Synthetic cords can be beneficial for outdoor projects, as they are often more resistant to moisture and fading. The choice of material ultimately depends on the desired aesthetic and the intended use of the plant hanger.
Congratulations!
You’re now the proud creator of a beautiful, handmade macrame plant hanger! Show off your creation and enjoy the touch of nature it brings to your space. Don’t forget to share your finished project with us on social media! We love seeing what our community creates. And remember, this is just the beginning of your macrame journey – the possibilities are endless!