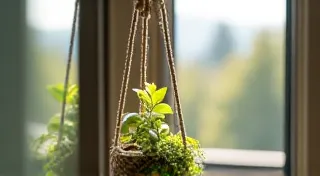
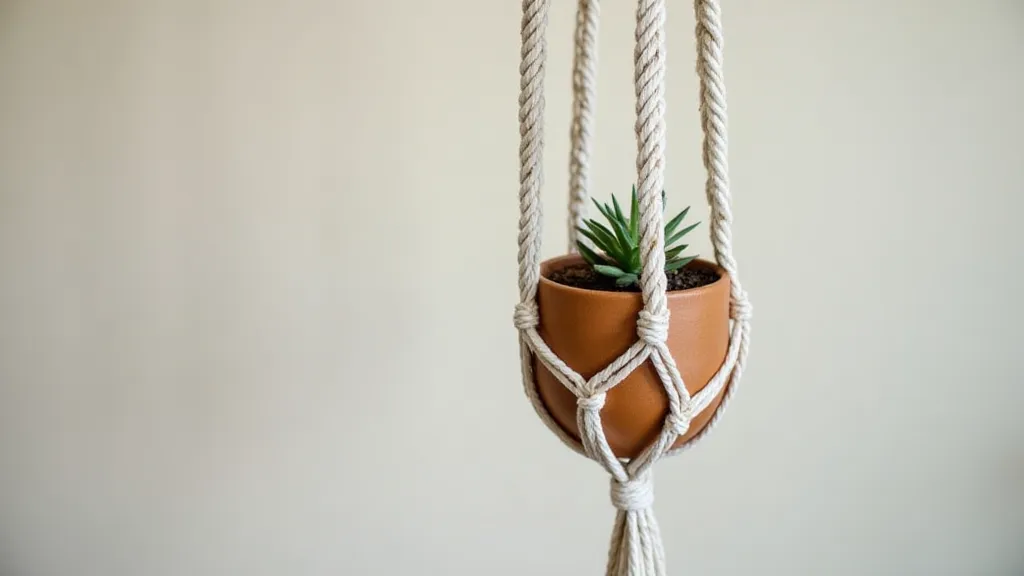
Your First Macrame Project: A Simple Plant Hanger Tutorial
Ready to put your new knotting skills to the test? This easy-to-follow tutorial guides you through creating a beautiful and functional macrame plant hanger. We'll use the square knot and lark's head knot to create a charming design that’s perfect for displaying your favorite potted plants. No prior experience needed!
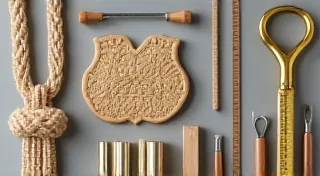
What You’ll Need
- Cord: Approximately 30-40 feet of macrame cord (3mm or 5mm thickness works well. Jute, cotton, or hemp are good choices.)
- Scissors
- Measuring Tape (optional)
- Pencil (optional, for marking cord)
- A small potted plant (for demonstration and the final product!)
Understanding the Knots
This project utilizes two essential macrame knots: the Lark's Head Knot and the Square Knot. Don't worry if you're unfamiliar – we're going to break them down!
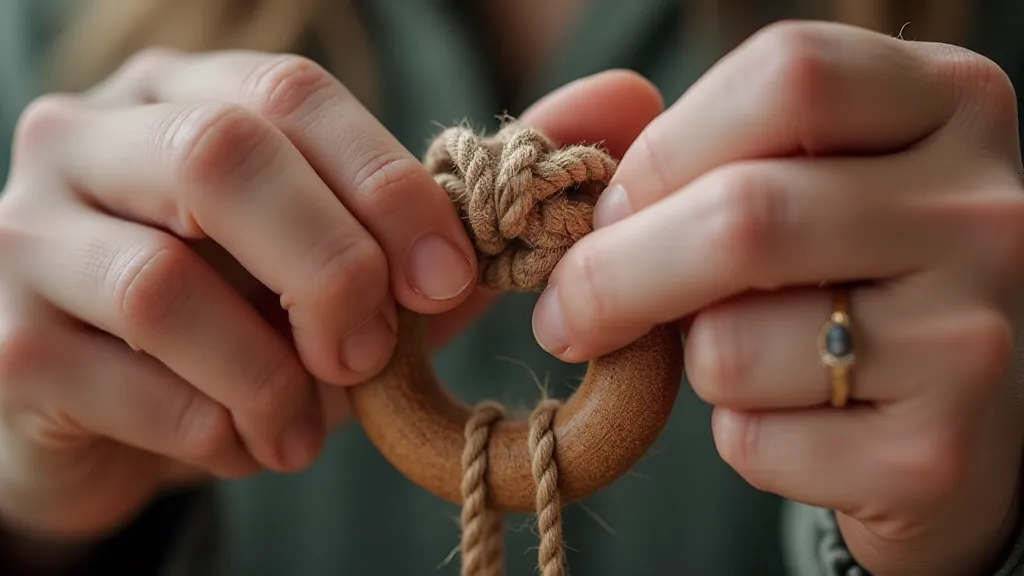
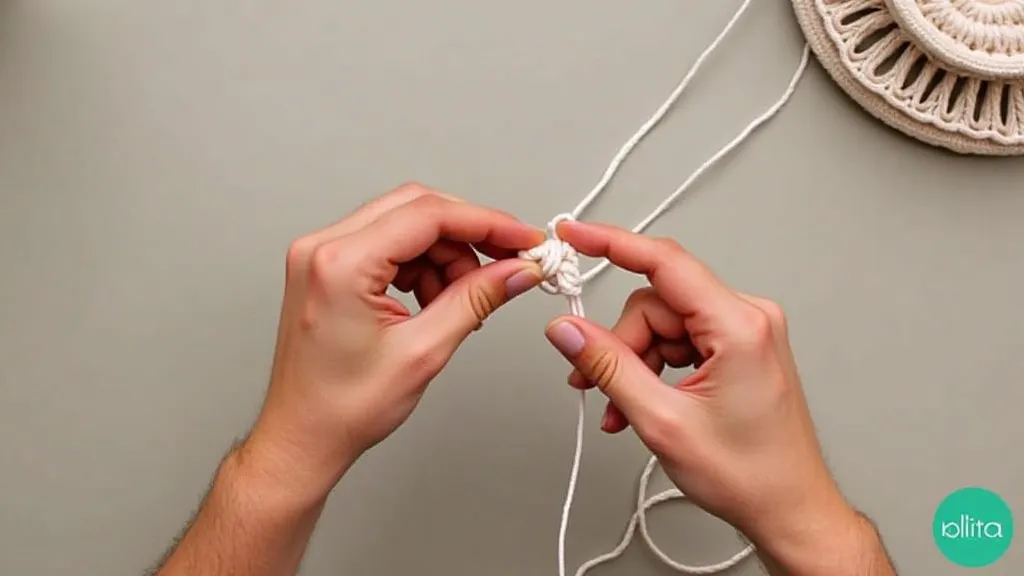
The Lark's Head Knot
The Lark's Head knot is used to attach the cords to a ring or anchor point. Here's how it's done:
- Fold the cord in half.
- Place the folded end under the ring or anchor point.
- Bring the two loose ends over the front of the ring and then under the loop formed.
- Pull the loose ends tight.
The Square Knot
The Square Knot is the workhorse of many macrame projects. It's created by alternating two Half Square Knots.
- Take the left cord and bring it over the two middle cords and under the right cord.
- Take the right cord and bring it under the two middle cords and over the left cord.
- Pull both cords tight. This completes one Half Square Knot.
- Repeat the process, starting with the right cord this time. This completes the Square Knot.
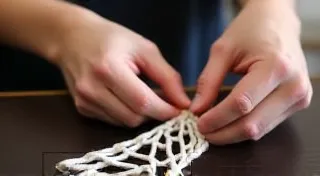
Let's Get Started!
Follow these steps to create your first macrame plant hanger.
- Cut the Cord: Cut four lengths of cord, each approximately 8-9 feet long.
- Attach to the Ring: Using the Lark’s Head Knot, attach each of the four cords to a wooden ring. You should now have eight cords hanging from the ring.
- The First Tier: Divide the cords into four pairs. Tie a Square Knot with each pair, approximately 4-6 inches from the ring.
- The Second Tier: Again, divide the cords into four pairs and tie a Square Knot with each pair, approximately 6-8 inches from the previous tier.
- The Basket: Now, we're going to create a small "basket" to hold the pot. Take two cords from one pair and two cords from an adjacent pair and tie a Square Knot. Repeat this all the way around until you have created a circle.
- Final Tier: Tie a Square Knot directly beneath the basket you’re creating.
- Gather and Knot: Gather all eight cords together and tie a large overhand knot at the ends. This is where you’ll place your pot!
- Trim the Ends: Trim any excess cord to your desired length.
Tips and Troubleshooting
- Keep Tension Consistent: Try to pull each knot with even tension to create a balanced look.
- Practice Makes Perfect: Don't be discouraged if your first few knots are a little wonky. Macrame takes practice!
- Cord Choice: Different cord types will create different textures and looks. Experiment!
Congratulations!
You’re officially a macrame artist! Enjoy your new plant hanger and get ready to tackle more projects!